
.svg)


Choosing the right type of fill dirt is one of the most critical decisions in any construction project. It directly affects the strength and longevity of whatever is built on it. Many construction failures happen because of poor soil selection. That’s why contractors must carefully match the fill to the project’s needs. There are many types of fill dirt, and each offers different properties. Knowing the difference can prevent costly repairs or future problems.
Clean Fill: The Industry Standard for Grading and Backfill
Composition and Certification
Clean fill is a carefully selected material used to ensure stable construction surfaces. It contains only non-decomposable materials such as soil, sand, gravel, and small rocks. It must be free of contaminants, such as organic matter, to meet legal and environmental standards. Certified clean fill comes with documentation that confirms it has been tested and approved for use. When builders order clean fill for grading, they expect reliable material that won’t introduce problems during or after construction. This certification process is essential for meeting local codes and avoiding costly setbacks.
Environmental Compliance
The environmental compliance and regulatory standards associated with using fill dirt include certification and mitigation of potential issues. Agencies closely regulate clean fill to prevent pollution or hazardous soil conditions. Because clean fill is often used in areas where water runoff can carry particles into natural ecosystems, it must be entirely free of substances that can decompose or release toxins. This level of control also makes clean fill ideal for sensitive projects where soil quality has long-term effects. Whether it’s a suburban yard or a large development site, fill dirt for construction must meet strict environmental guidelines.

Common Applications in Site Prep
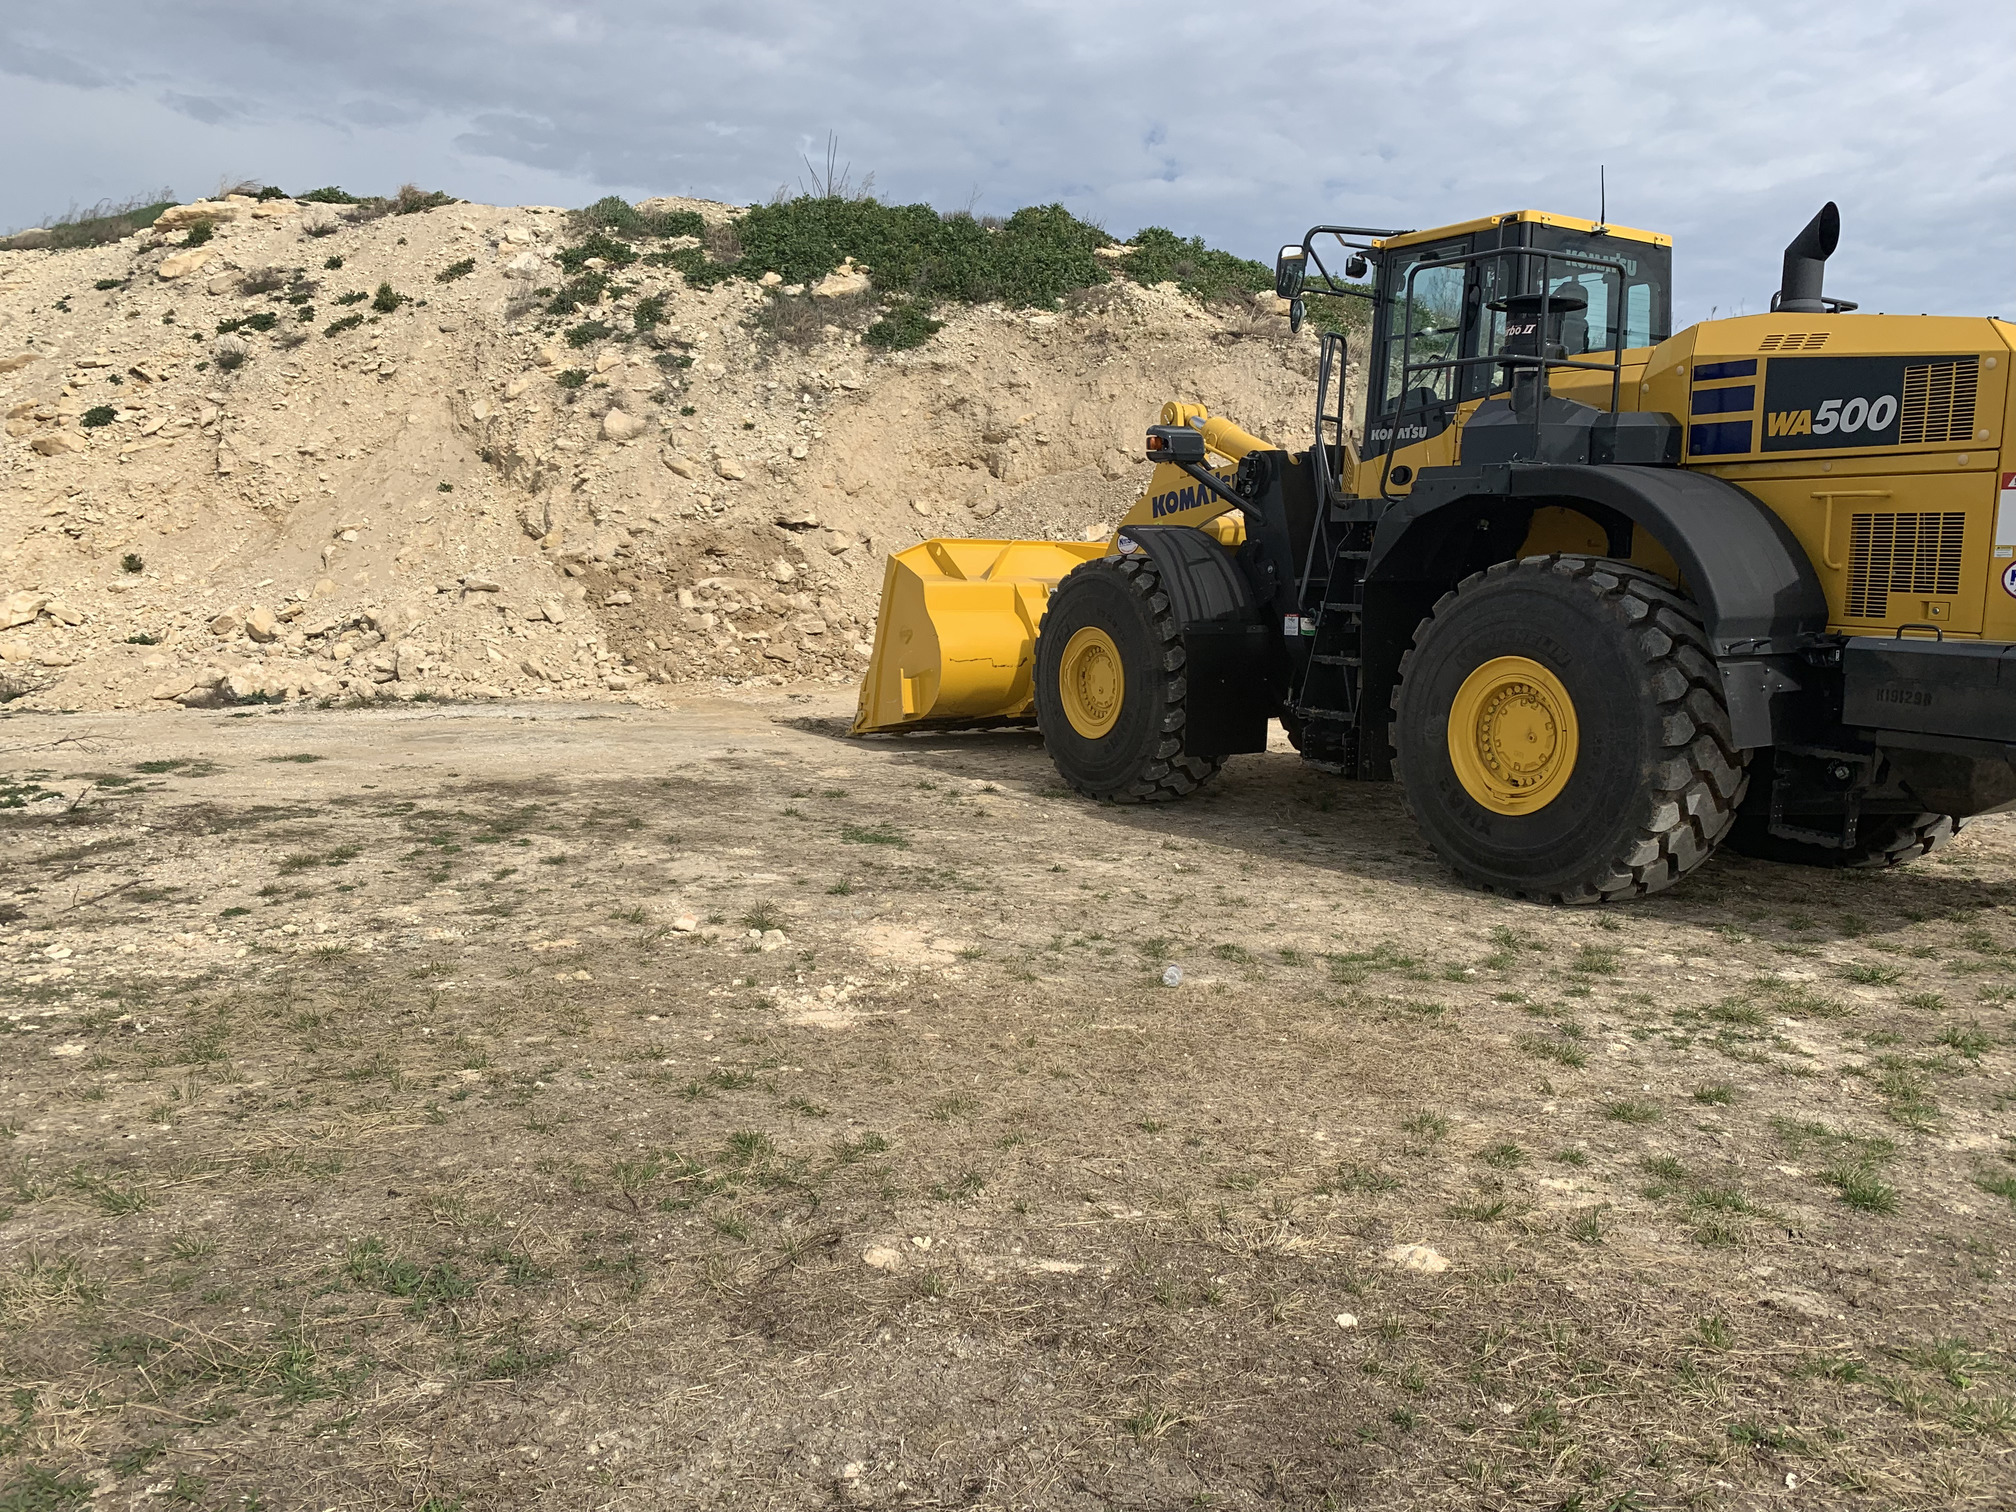
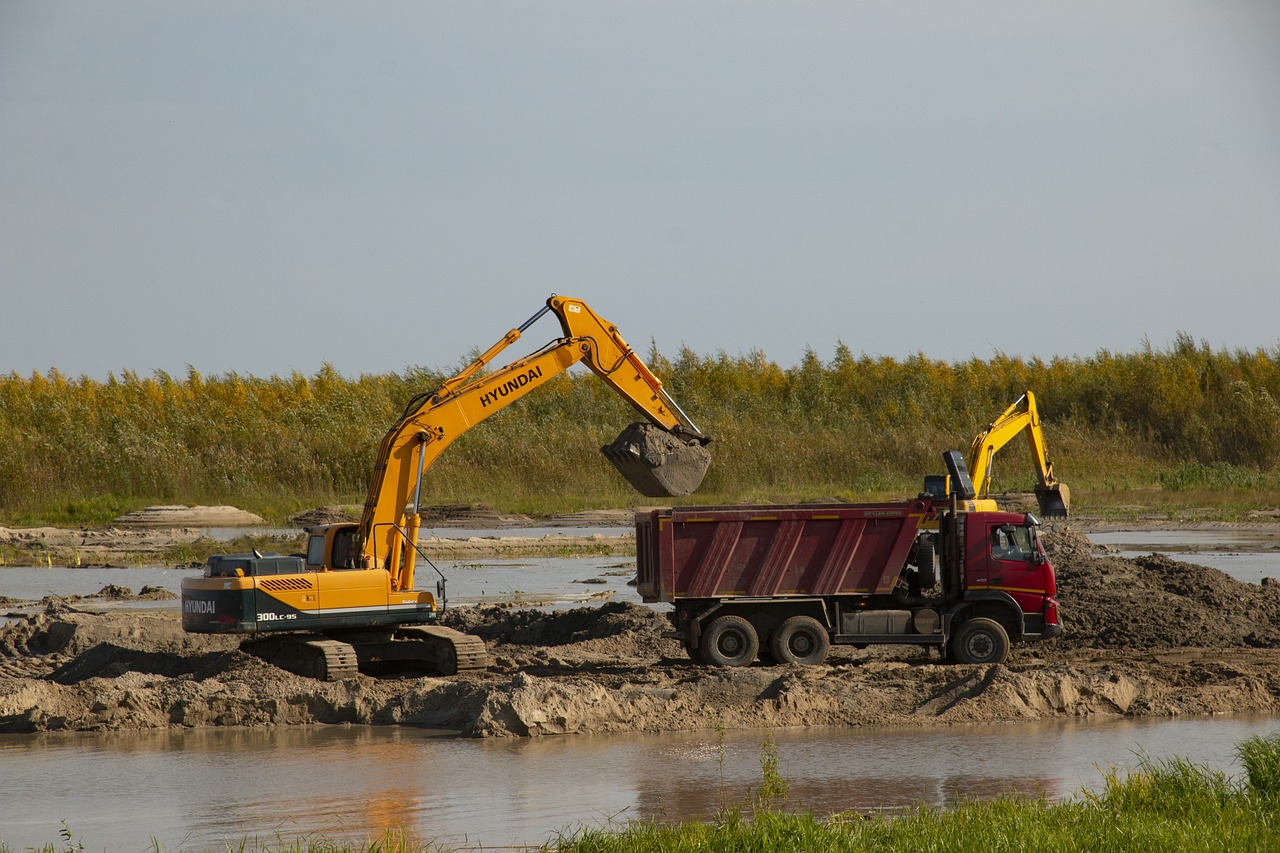
There are typical uses of different fill dirt types in construction projects, including site preparation, grading, landscaping, backfilling, and underground installations. During site preparation, clean fill plays a key role in shaping the land and creating level surfaces. It is often used beneath structures to provide a consistent elevation and a solid base. Clean fill can correct drainage issues, eliminate low spots, and support foundations or slabs in residential projects. It helps stabilize the land before heavier structural layers are added. Its dependable nature makes it a top choice for builders who want to avoid settlement issues later. Dirt for leveling must be clean and compactable to guarantee predictable results.
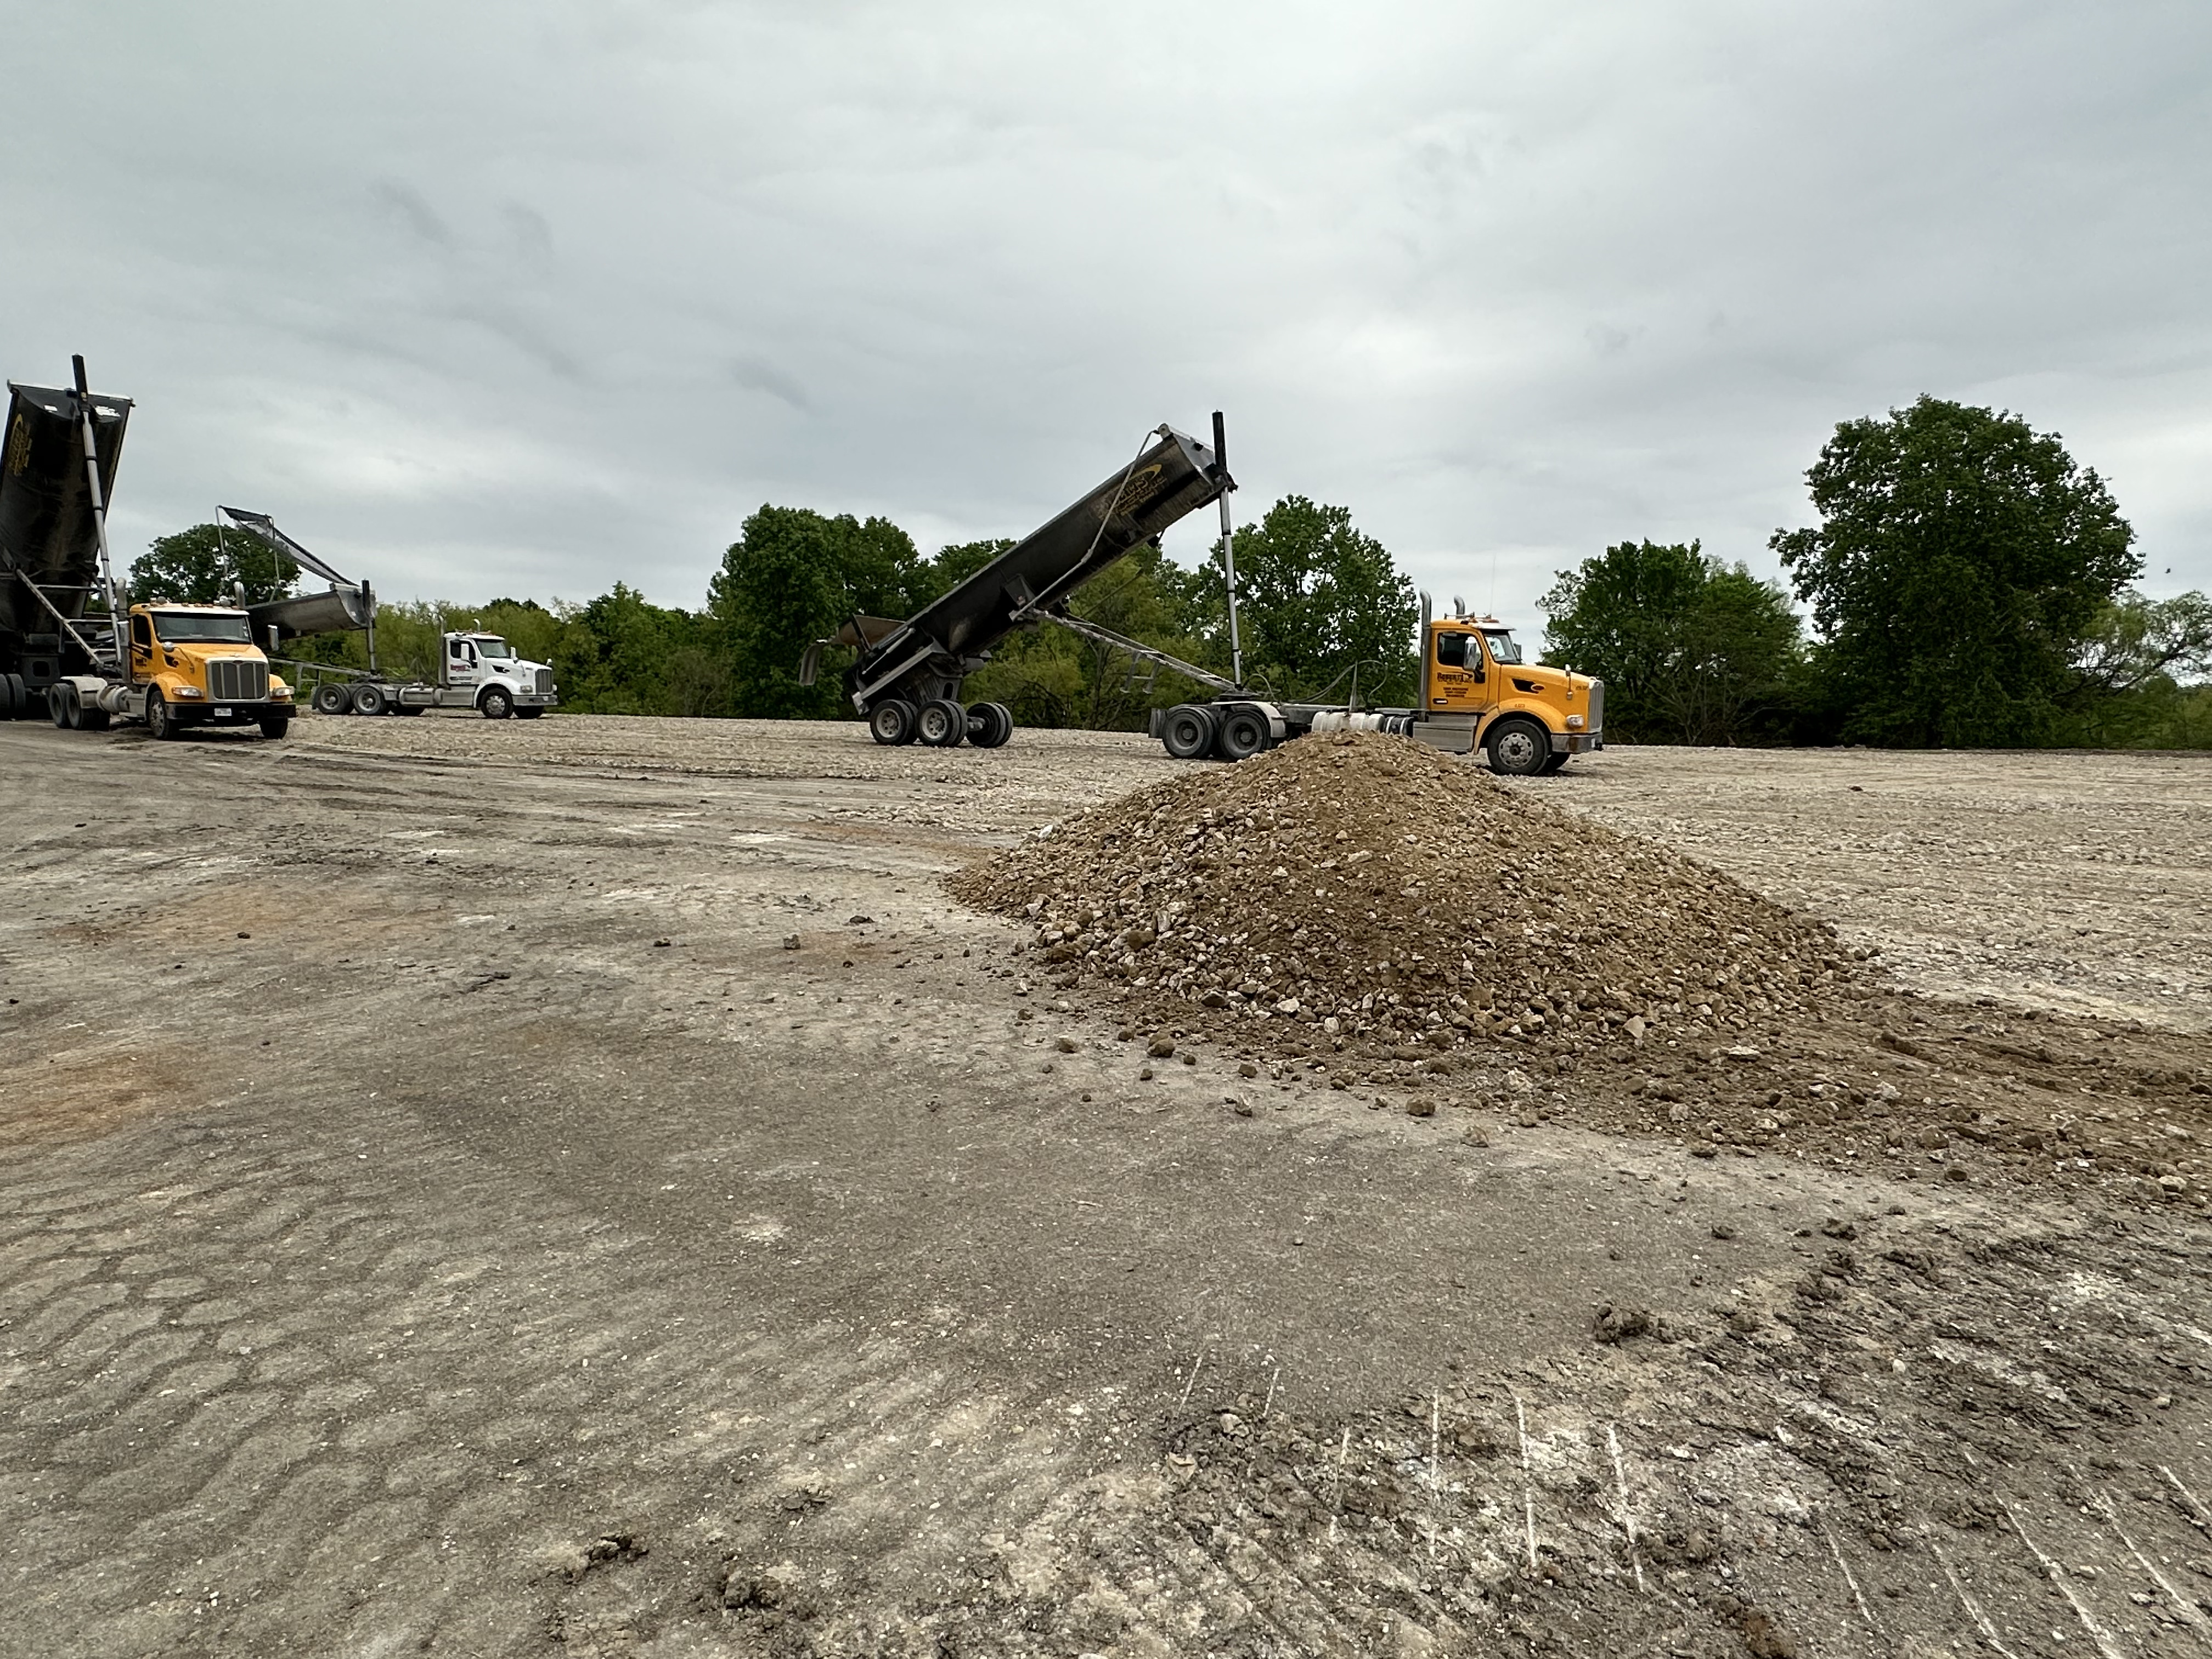
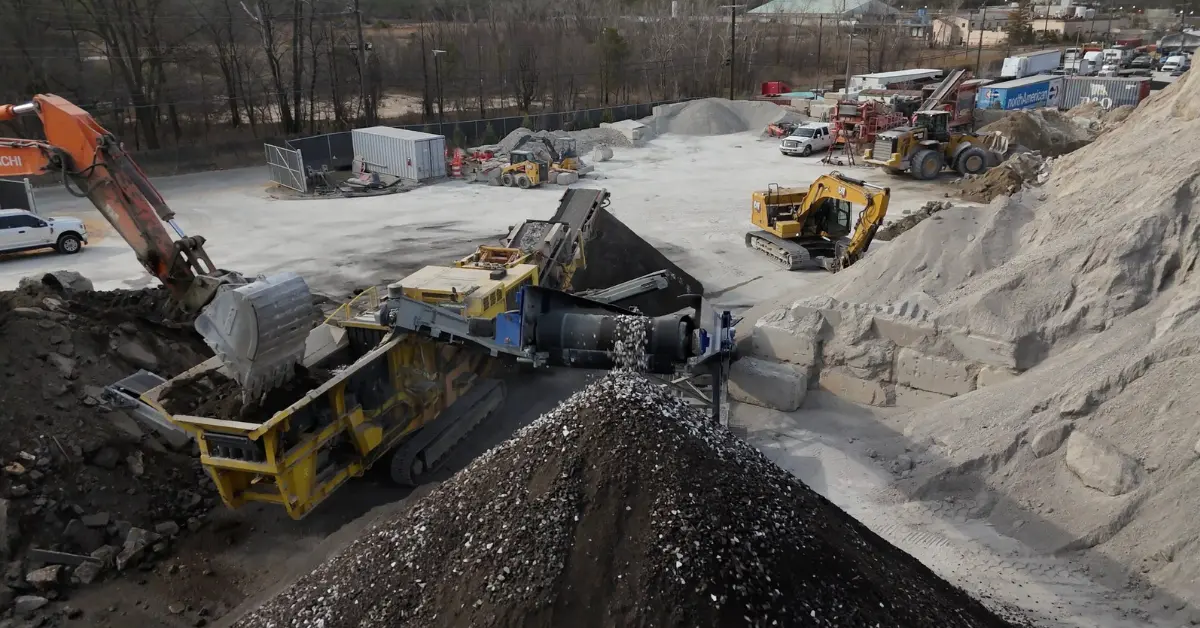
Hauling, Storage, and Pricing Considerations
Clean fill is typically transported in bulk, so managing storage and delivery logistics is essential. Contractors must plan where the dirt will be stockpiled before use. Clean fill costs vary based on location, but it's generally more affordable than engineered blends. Many professionals prefer to pay more upfront for reliable material rather than risk setbacks. Since grading and backfill dirt must perform consistently, the added cost of certified clean fill often pays off in the long run.
Structural Dirt Types: Clay vs. Sandy Fill
Clay Fill
Clay is a dense, tightly packed soil that offers high strength under compression, making it valuable for supporting heavy loads. Its particles are very fine, allowing it to bind together and resist shifting. This makes it ideal for specific structural applications, like embankments or sub-base layers. However, clay also holds water for extended periods, which can lead to swelling or shrinking as moisture levels change. These fluctuations may impact surface stability. When using subsoil for foundation work, contractors must account for clay’s tendency to expand, as it can create upward pressure on slabs or basements.
Sandy Fill
In contrast to clay, sandy fill consists of larger particles that allow water to flow through quickly. This characteristic makes it well-suited for projects that require rapid drainage. Its loose structure makes it easier to compact and less prone to frost heave, which occurs when freezing water expands beneath a surface. Although it does not offer the same strength as clay, its performance in wet or freezing conditions makes it highly dependable. Many professionals use construction fill dirt with sandy characteristics when fast drying, and ease of handling is a priority.
Mitigating Issues
Stabilizing agents such as lime, fly ash, or cement can alter the physical properties of natural fill, reducing expansion and increasing load-bearing capacity. Mixing different soil types also helps balance drainage and compaction. This approach creates customized solutions that adapt to unique site conditions. A soil stabilizer for road construction can transform basic dirt into a durable foundation layer, preventing cracking and erosion over time.
Specialized Blends and Engineered Soil Mixtures
Sandy Clay Loam
It blends fine and coarse particles to enhance both moisture control and structural stability. This type of soil is prized for situations that demand even support with moderate water flow, such as under patios, walkways, or light foundations. It resists excessive shrinkage while still draining efficiently enough to prevent saturation. When evaluating soil for building foundations, sandy clay loam is frequently chosen for its adaptability.
Gravelly Fill
Made from crushed stone, coarse sand, and occasional silty material, its rugged texture and interlocking particles make it particularly effective for forming strong bases. It provides high friction and low compressibility, which are essential in road construction and beneath concrete slabs. This fill supports even weight distribution and minimizes settlement. The rigid structure of gravelly soil also enhances compaction efficiency. It’s a preferred soil for construction layers where strength must be guaranteed.
Lightweight Fill Options
Some applications benefit from lightweight materials that reduce stress on supporting structures. Expanded shale, pumice, or engineered foam soils are examples of lightweight alternatives being used. These materials lower pressure without sacrificing stability. Lightweight fill also simplifies transportation and spreading, reducing labor costs on-site. Since each fill dirt application has unique stress and drainage requirements, engineers often consider lightweight options when dealing with limited space or elevated pads.
The Importance of Geotechnical Testing, Certification, and Quality Control for Fill Dirt
Ensuring the suitability and safety of fill dirt in construction projects begins with rigorous geotechnical testing, certification, and comprehensive quality control measures. Geotechnical testing serves as the foundation for understanding the physical and chemical properties of soil materials intended for use as fill. Through standardized laboratory tests and field assessments, engineers can evaluate critical factors such as soil composition, particle-size distribution, compaction potential, moisture content, shear strength, and the presence of contaminants. This information is vital for determining whether a particular fill-dirt source can meet the project's structural and environmental requirements. For example, soils with excessive organic matter or deleterious substances may lead to unpredictable settling, instability, or even hazardous conditions, making thorough testing non-negotiable for long-term performance and safety.
Certification is the next crucial step in the quality assurance process. Certified fill dirt comes with documentation verifying that the material has met all required testing protocols and complies with relevant standards, such as those outlined by local building codes or national organizations like ASTM or AASHTO. This certification process not only assures contractors and project owners of the fill dirt’s reliability but also streamlines regulatory approvals and inspections. It acts as a safeguard against the use of substandard or contaminated materials, which could otherwise result in costly remediation, legal liabilities, or structural failures.
Consistent quality control measures are essential throughout the sourcing, delivery, and placement of fill dirt. On-site inspections, field density tests, and moisture checks ensure that the material delivered matches the certified specifications and that it is installed under optimal conditions. Regular monitoring and documentation during each phase of the project help identify any deviations early, allowing corrective actions before issues escalate. These combined efforts not only mitigate risks but also enhance the durability, safety, and longevity of the finished structure.

Topsoil in Construction Projects
Screened Topsoil
Factors to consider when choosing the appropriate type of fill dirt for a project include soil properties, project requirements, and environmental considerations. Their uniform texture makes it an excellent base for planting grass, shrubs, or garden beds. It is rich in organic matter and nutrients, helping plants develop strong root systems and retain necessary moisture. In both commercial and residential developments, using topsoil construction layers enhances the aesthetic and environmental quality of the site. Landscapers often rely on screened topsoil to establish lawns or prepare planting zones. Its blend of fertility and texture ensures thriving vegetation with proper maintenance.
Subgrade Fill Below Topsoil
Installing topsoil directly over unstable or uneven ground can lead to poor results, including settling or waterlogging. That’s why builders typically use subgrade fill beneath the top layer to provide a more stable, supportive base. Subgrade materials are often less costly and less refined than topsoil, which helps reduce overall expenses. Depending on the project, these layers may consist of compacted clay, sand, or crushed stone. The purpose is to ensure that the visible top layer performs as intended. Contractors managing large landscaping jobs or sloped terrain often combine fill dirt for grading with topsoil to balance cost and function.
Layering Strategies
Creating a well-functioning landscape requires more than just placing topsoil on the ground. Strategic layering ensures healthy plants and promotes proper water movement. Here are effective strategies to apply:
- Start with a Stable Subbase: The first and most crucial step in constructing a layered landscape system is establishing a stable subbase. This foundational layer typically consists of compacted dirt, crushed stone, or road base material. The purpose is to create a firm, non-shifting foundation that resists settlement over time, especially under the weight of additional layers, irrigation systems, or foot traffic. When neglected, unstable ground can lead to uneven surfaces or structural problems. The subbase should be compacted using mechanical rollers or tampers to achieve a dense and uniform consistency.
- Apply a Middle Layer of Drainage Material: Once the subbase is complete, the next critical layer focuses on facilitating water movement away from plant roots. This drainage layer is typically made of coarse sand, pea gravel, or crushed rock, depending on the site’s needs and local climate. Its primary function is to prevent waterlogging in the root zone, which can suffocate plants and encourage root rot, fungal growth, and other health issues. Acting as a filter between the subbase and the topsoil, this layer also prevents finer materials from clogging the lower layers, preserving long-term permeability.
- Use High-Quality Screened Topsoil as the Top Layer: The visible and most biologically active layer of any landscaped area is the topsoil. This layer provides nutrients, microbial activity, and structure for root systems to establish and flourish. Using screened topsoil ensures that the material is free of clumps, debris, and large rocks, which can inhibit plant development and complicate irrigation. A quality topsoil blend will balance sand, silt, clay, and organic matter, supporting water retention and root aeration. Additional compost or amendments such as peat moss, aged manure, or biochar can be mixed in to tailor fertility levels. This layer should be applied carefully, with attention to even depth across the entire planting area.
- Avoid Mixing Layers: One of the most common mistakes in soil layering is unintentionally blending adjacent layers during installation. Each layer serves a specific function, and mixing them reduces their effectiveness. For instance, if drainage gravel becomes mixed with topsoil, the result is often compaction or impaired water movement, which can harm plant roots. To avoid this, layers should be installed carefully, using flat-edged shovels, compactors, or machinery fitted with level grading blades. For large sites, temporary physical barriers or geotextiles can be used during installation to maintain separation. Working in dry conditions is also essential, as wet materials are more prone to intermixing. Workers should avoid walking over completed layers to minimize compaction or disruption.
- Top with Mulch or Ground Cover: While often underestimated, the final layer plays a pivotal role in moisture regulation and weed suppression. Mulch made from bark, straw, compost, or wood chips can significantly reduce evaporation, especially during hot or windy conditions. This conserves water, stabilizes soil temperature, and reduces stress on emerging plants. In addition to organic mulches, low-growing ground covers like creeping thyme, sedum, or clover can provide living mulch that enhances visual interest while also serving functional purposes. These materials prevent topsoil from becoming compacted or crusted, impeding water infiltration and root penetration. Mulching also minimizes splash erosion during heavy rain and curbs the spread of invasive weeds by limiting sunlight at the soil surface.
Thoughtful implementation ensures that your green space thrives aesthetically and functions efficiently beneath the surface. These layers form a foundation that sustains landscapes through seasons of growth.
Logistics, Testing, and Site Coordination
Reading Geotechnical Reports
Builders consult geotechnical reports to understand the soil profile of a site before any earthwork begins. Understanding this data helps engineers decide whether to remove, reuse, or enhance the native soil. It also guides the selection of appropriate fill materials. Without this step, projects risk poor compaction or future structural issues. These reports serve as the foundation for safe, informed decision-making when assessing construction soil materials. Classification systems like Unified Soil Classification or AASHTO are often used to categorize the site’s native dirt.
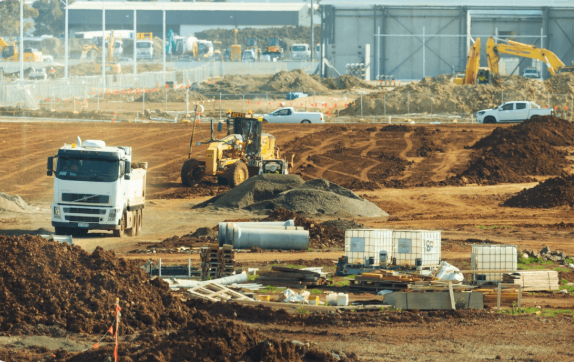
Scheduling Bulk Soil Delivery
Smart scheduling aligns soil arrival with excavation milestones, ensuring efficient use of labor and equipment. Delivery routes, truck sizes, and load times also impact how smoothly the process unfolds. Projects in urban areas face additional hurdles, such as space constraints and traffic. Aligning transport timelines with backfilling or leveling stages prevents costly downtime. Effective logistics reduces idle time for projects using the best soil for lawn leveling and helps stay on schedule without compromising material quality.
Compaction Techniques
Contractors use various machines to compact different types of soil based on site needs and access limitations. Each machine is chosen for its ability to apply pressure efficiently across the fill surface. Here are common tools:
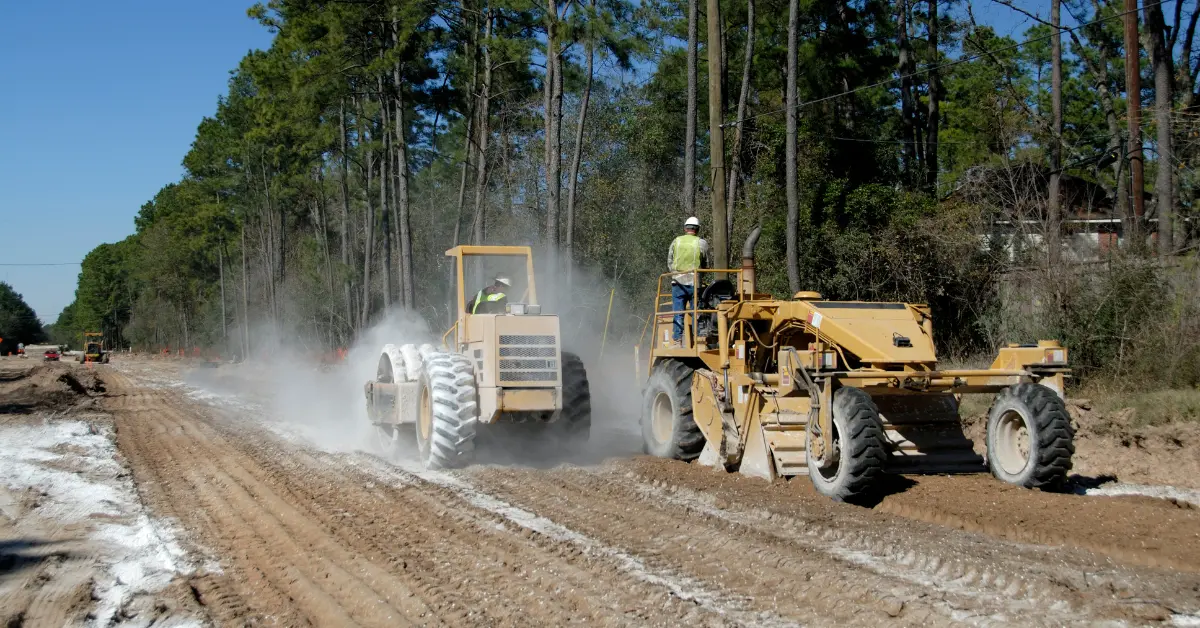
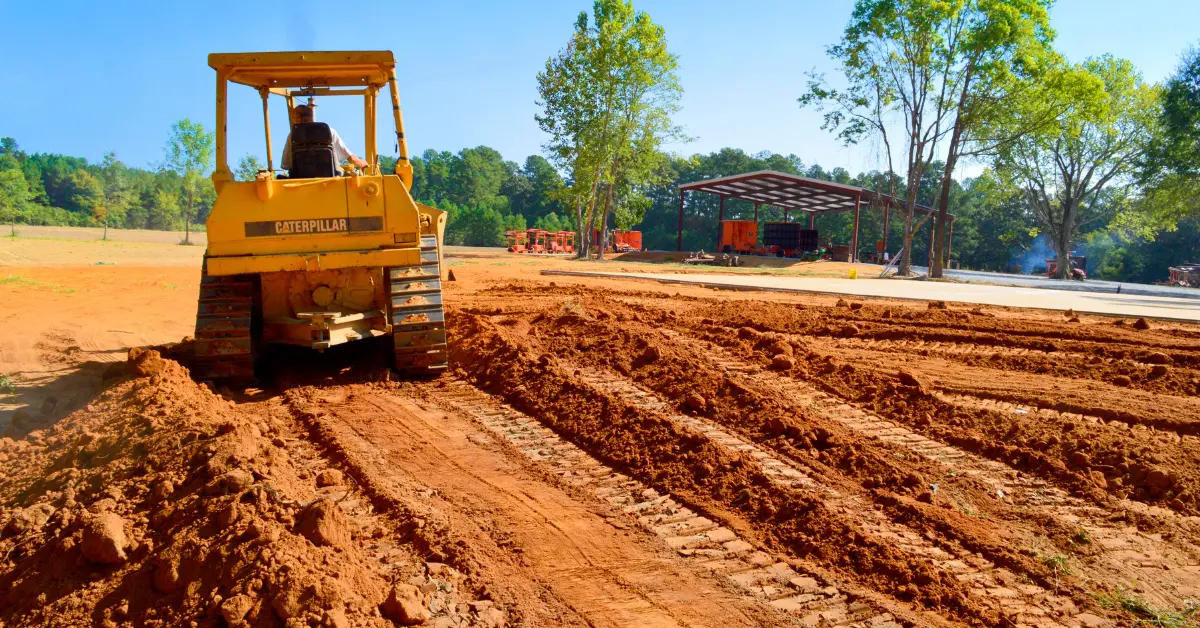
- Bulldozers: When spreading large volumes of fill dirt across a wide site, the bulldozer's weight begins to compress the soil lightly. This informal compaction helps eliminate air gaps, distribute soil layers evenly, and prepare the ground for heavier compacting equipment. Bulldozers are especially useful for rough grading operations, where terrain needs to be reshaped quickly before precision work begins. While not a replacement for dedicated compactors, bulldozers ensure a smoother starting point by reducing large voids and high spots in the fill. Their blade attachments can be adjusted to push soil to exact elevations, contributing to consistent depth for subsequent compaction layers.
- Smooth Drum Rollers: Smooth drum rollers are a go-to choice for compacting non-cohesive soils such as sand, gravel, or mixed granular backfill. These machines feature large steel drums that vibrate as they move, which forces loose soil particles closer together. Smooth drum rollers are excellent for creating level surfaces in roadbeds, parking lots, and foundations where even compaction is critical for long-term durability. Because they don’t rely on traction to knead the soil, these rollers work best when the moisture content is optimized. Advanced models include settings to adjust vibration frequency and force, giving operators more control over compaction depth.
- Sheepsfoot Rollers: Unlike smooth rollers, these machines have drum surfaces covered in metal protrusions (or “feet”) that press deep into the soil with each pass. This kneading action breaks apart clods, removes air pockets, and forces moisture evenly throughout the material. The roller facilitates deeper compaction, essential for creating a solid foundation beneath pavements, embankments, or structural pads. The key to using sheepsfoot rollers effectively lies in multiple passes and layering: each lift of soil is compacted incrementally, allowing for uniform density through the depth of the fill. These rollers are slower and more aggressive than their smooth counterparts but deliver superior results when the soil’s cohesive nature resists simple compression.
Strategic compaction strengthens the site's integrity and helps prevent costly repairs or subsidence issues in the future. When properly executed, it lays the groundwork for long-lasting success.

Verifying Quality With Lab Tests
Lab tests measure moisture levels while field tools like nuclear density gauges offer instant readings on-site. These tests help validate that the fill performs as expected under stress. Without verification, undetected issues could cause foundation cracks or pavement failure later. Quality control is especially crucial when dealing with multiple fill dirt applications, as each has different performance requirements.
Fill dirt may seem like a simple material, but its performance can make or break a construction project. Selecting the correct type requires more than just ordering whatever is available. The wrong soil beneath a structure could compromise its stability over time. By understanding the specific characteristics of each fill type, contractors can avoid common pitfalls and create solid, reliable foundations. Whether dealing with clay vs. sandy fill, matching the soil type to the task is key to lasting results. Source certified clean fill and project-ready soil faster by using Soil Connect to compare suppliers, verify materials, and schedule bulk deliveries with confidence.


.jpg)


